Our DIY Wedding Stationery
My first post on here about our wedding (which was nearly 3 months ago now), starts with how we created our DIY Wedding Stationery. As we were working to a tight budget, we decided to have some DIY elements to our wedding and it also gave us the chance to really stamp our personalities on our special day.
As we got engaged nearly 20 months before our chosen wedding date, we knew save-the-dates would be an important element to ensure our wedding guests were available for our big day. I personally had so many different inspirations when it came to this, most of which can be found on my Wedding Pinterest Board. So it was difficult to zero-in on an idea. The main thing we wanted was something cute, cool and easy for people to store and refer to up until our wedding day.
We therefore came up with the idea of something pocket-sized or something that could fit in a wallet or purse. Looking through said items, we noticed the obvious…business cards! This led us nicely onto moo.com where we both print our own business cards. We looked at the services moo had to offer and realised you don’t have to just print corporate cards or even text – you can use image-based designs and be extremely creative!
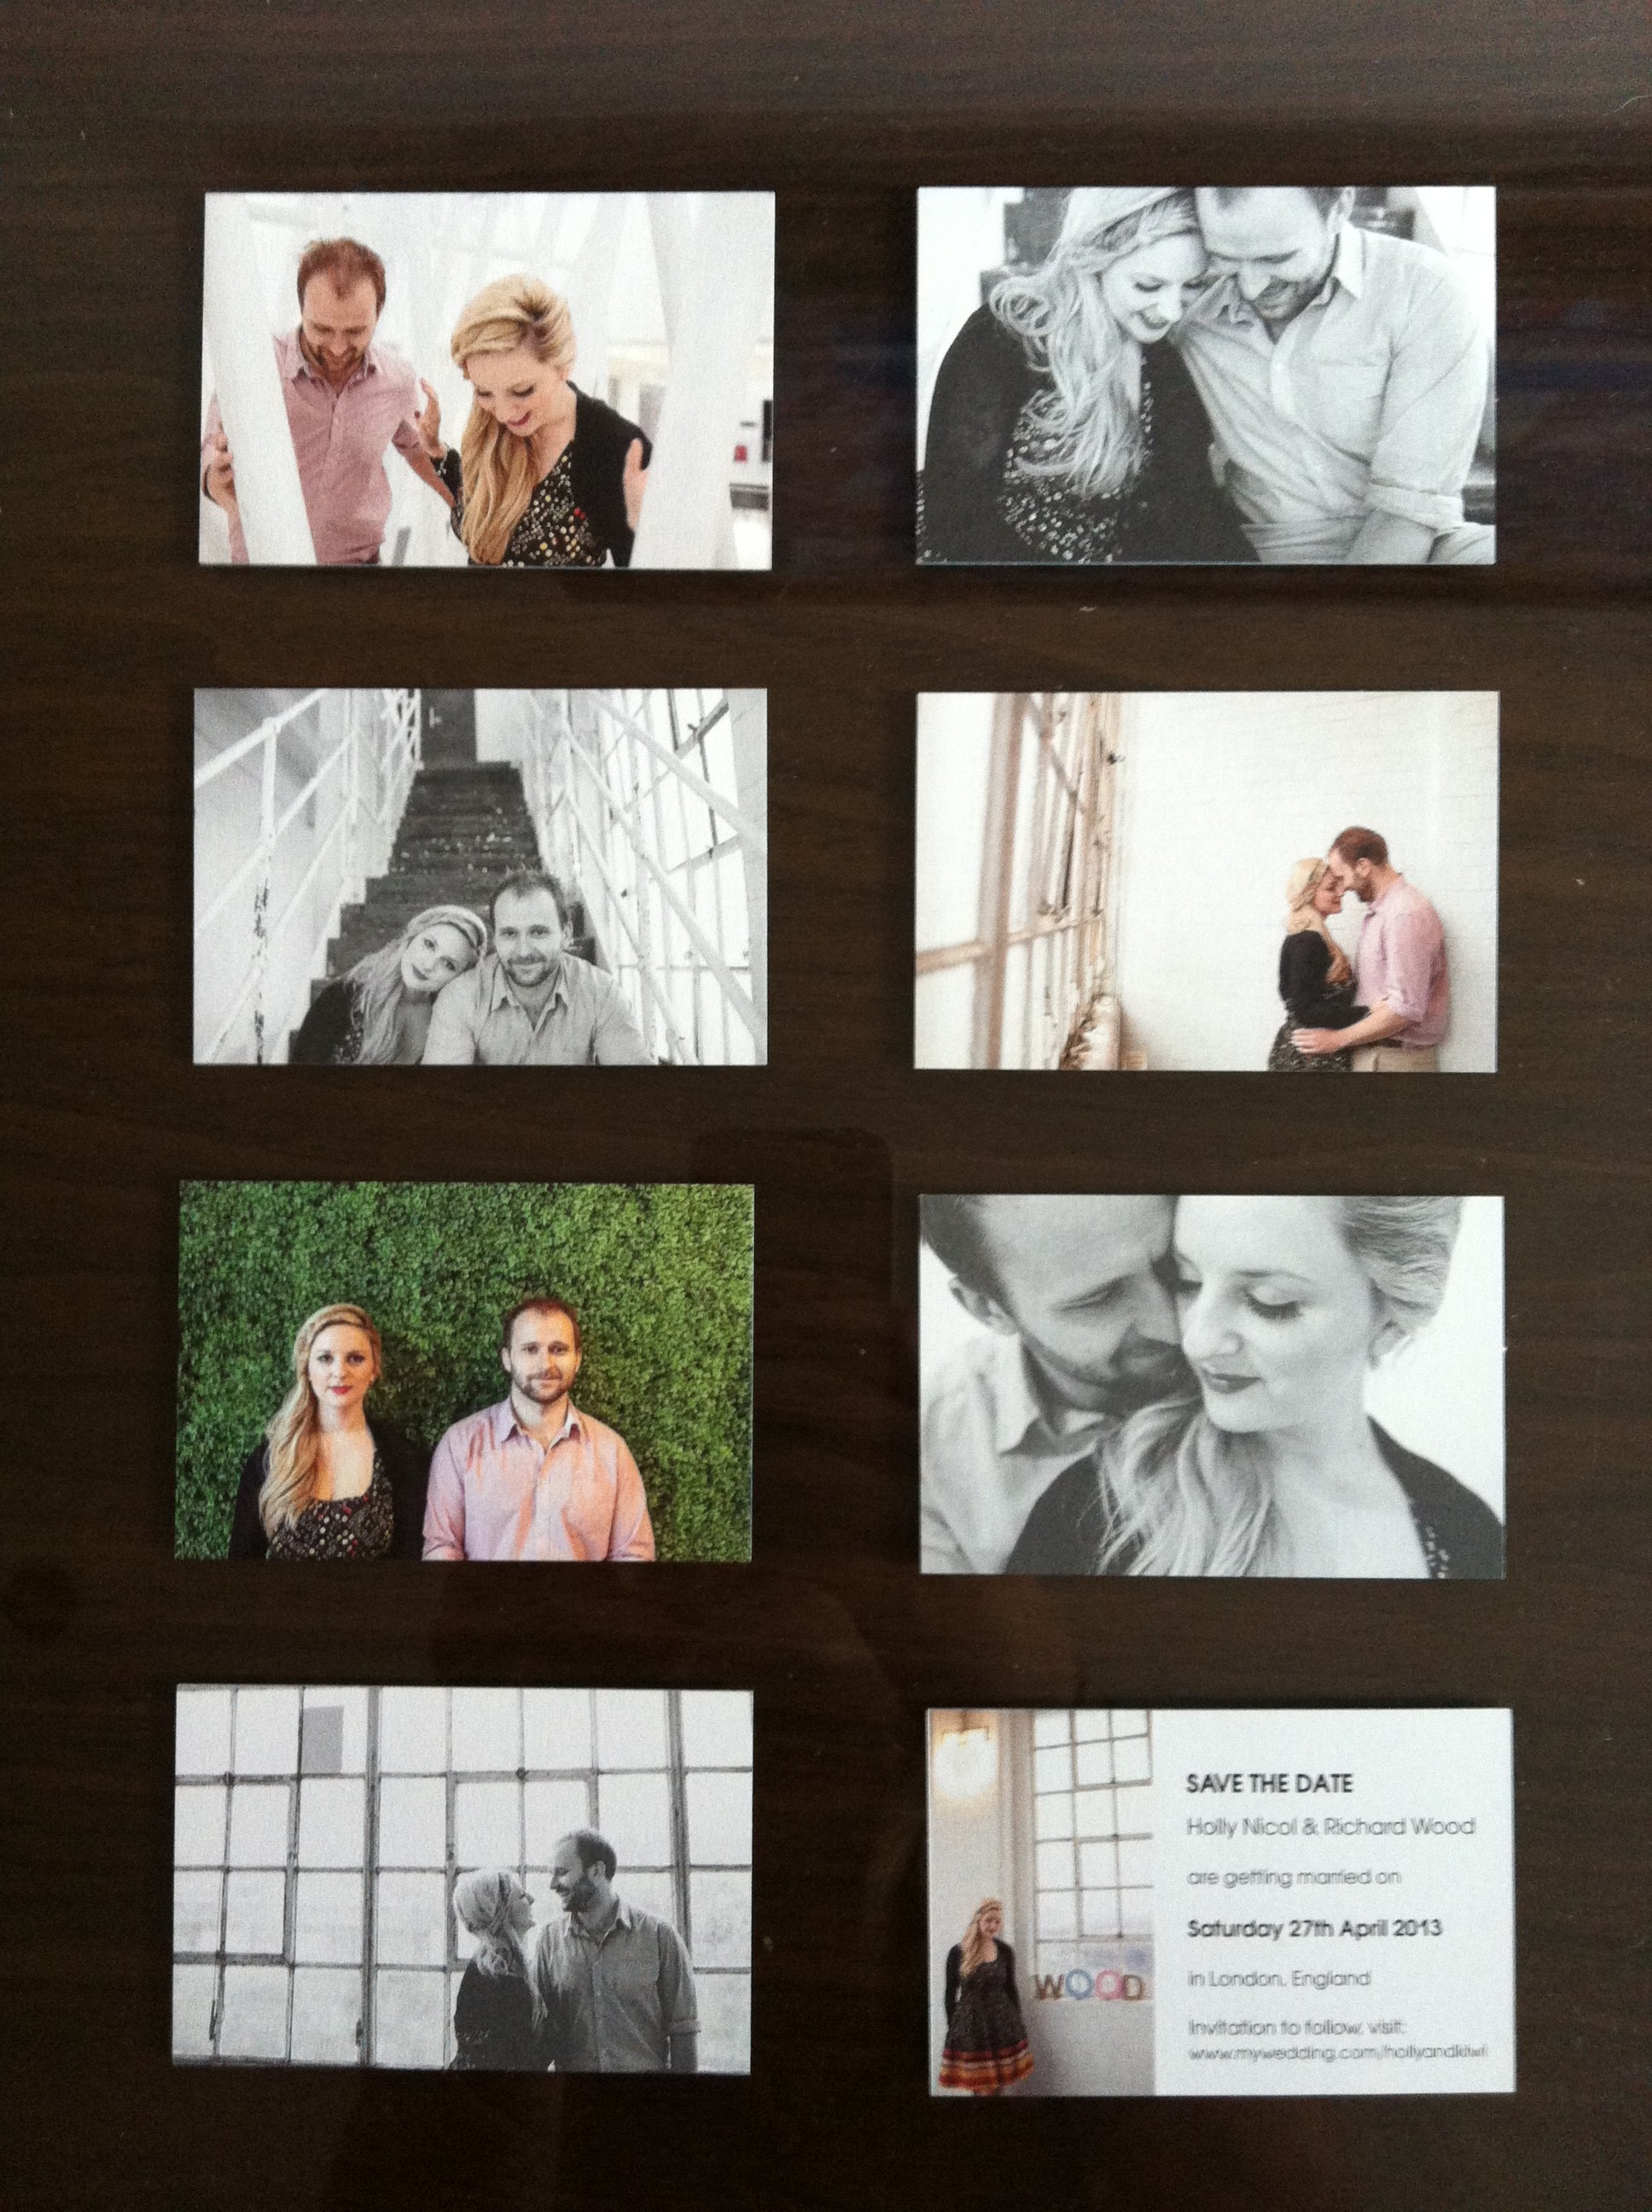
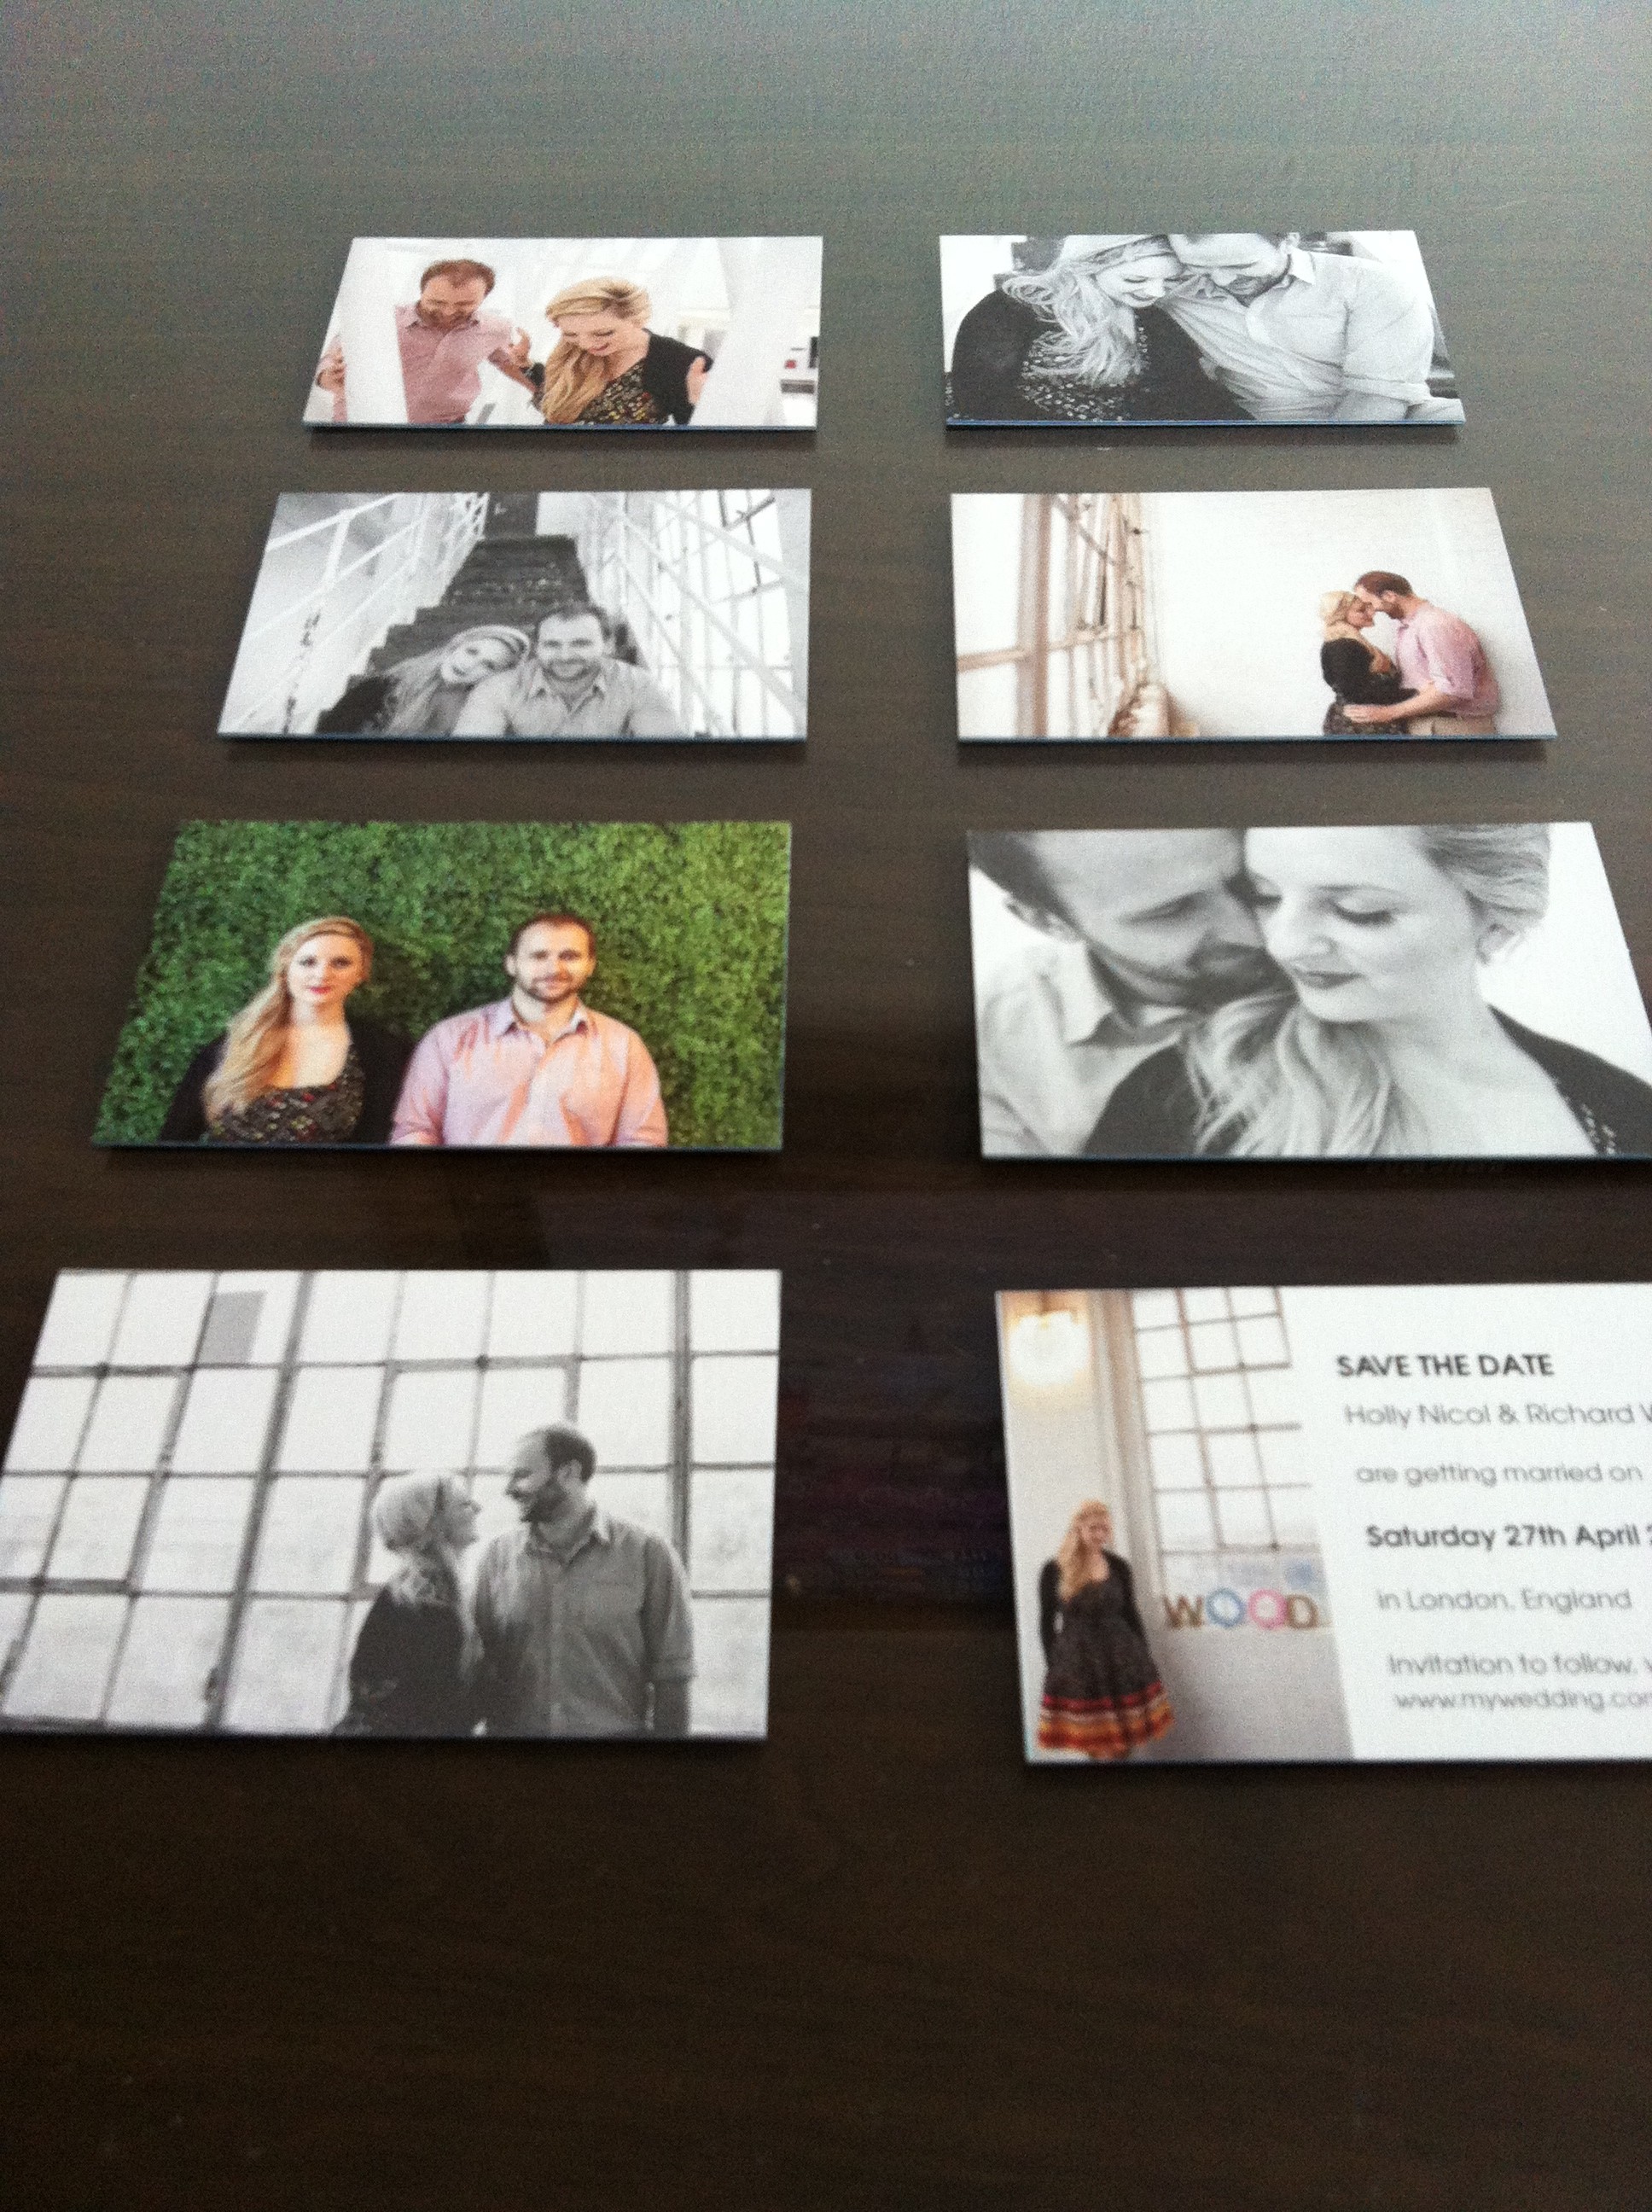
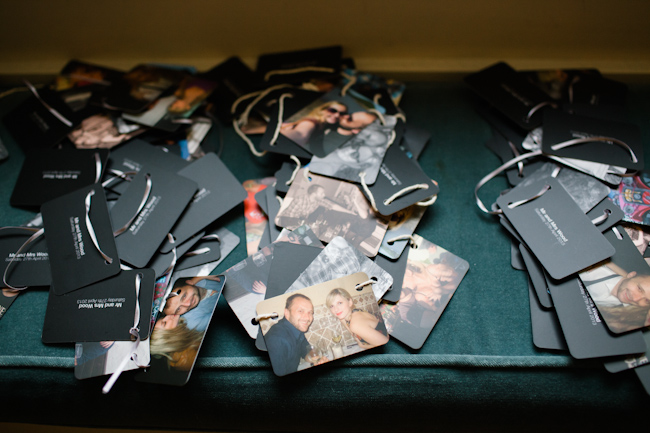
Having had some beautiful photos taken at our engagement shoot (courtesy of the wonderful Emma Case Photography), we thought it would be a shame not to use them and we immediately got uploading onto the moo website. We couldn’t decide on our favourite photo and moo gives you the option to use multiple images or photos, so we chose our 8 top pics and uploaded them within minutes. The best thing was, we could have a different image on the front to the back and add the little bit of text we needed (ie the date of our wedding).
Because we were printing these cards for our wedding, we wanted a more quality feel and more of a handmade touch – so when we came across moo’s Luxe Range, we knew instantly this would be the perfect option. The luxe cards are a thicker, heavier material and have a gorgeous coloured seam running through the edge. These cards just had that little added-extra that we wanted and were still incredibly reasonably priced so ideal for our DIY feel and budget! We ordered over 100 cards with plenty spares for keep-sakes.
Then these little bundles-of-joy arrived!
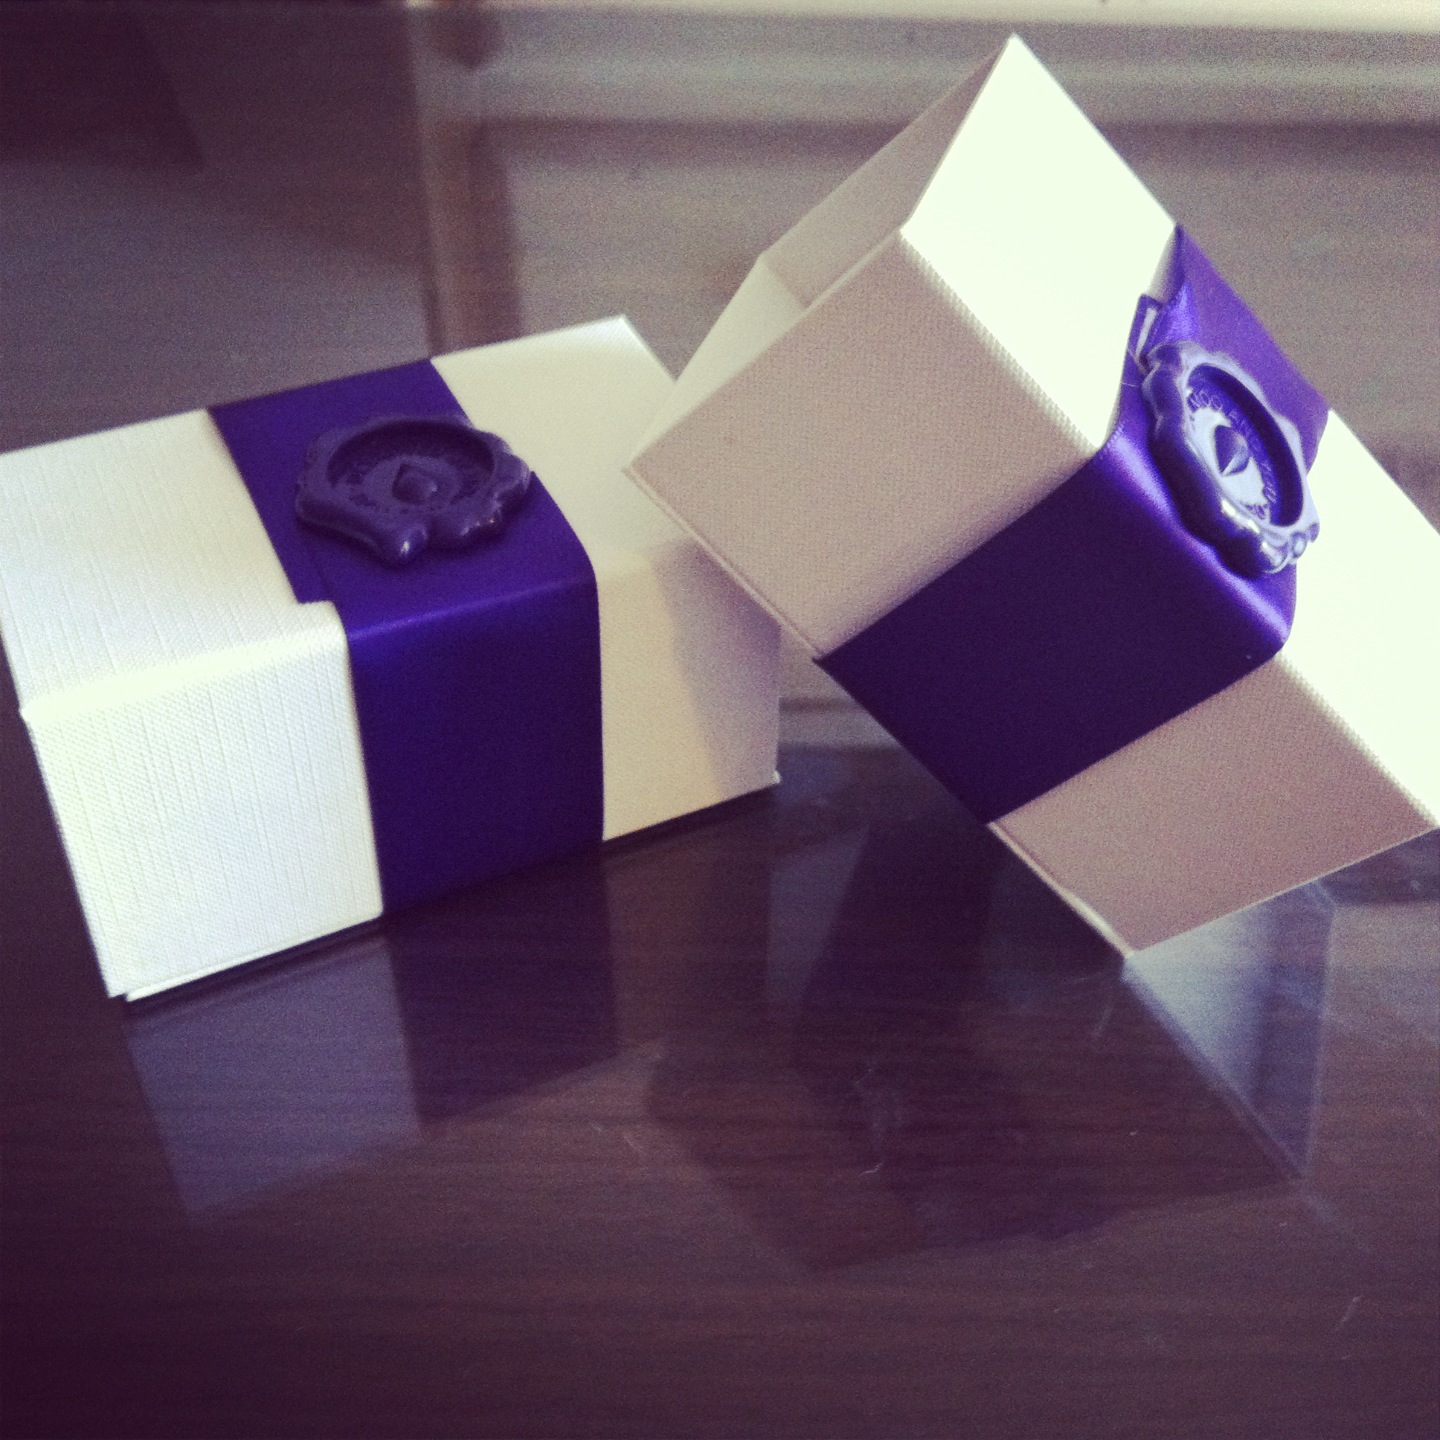
Excited, we carefully unwrapped these lovely little boxes to find our cute and quirky save-the-dates inside…
We were so pleased! And what an easy, quality and cost-effective way of getting our cards printed. So on to the envelope…
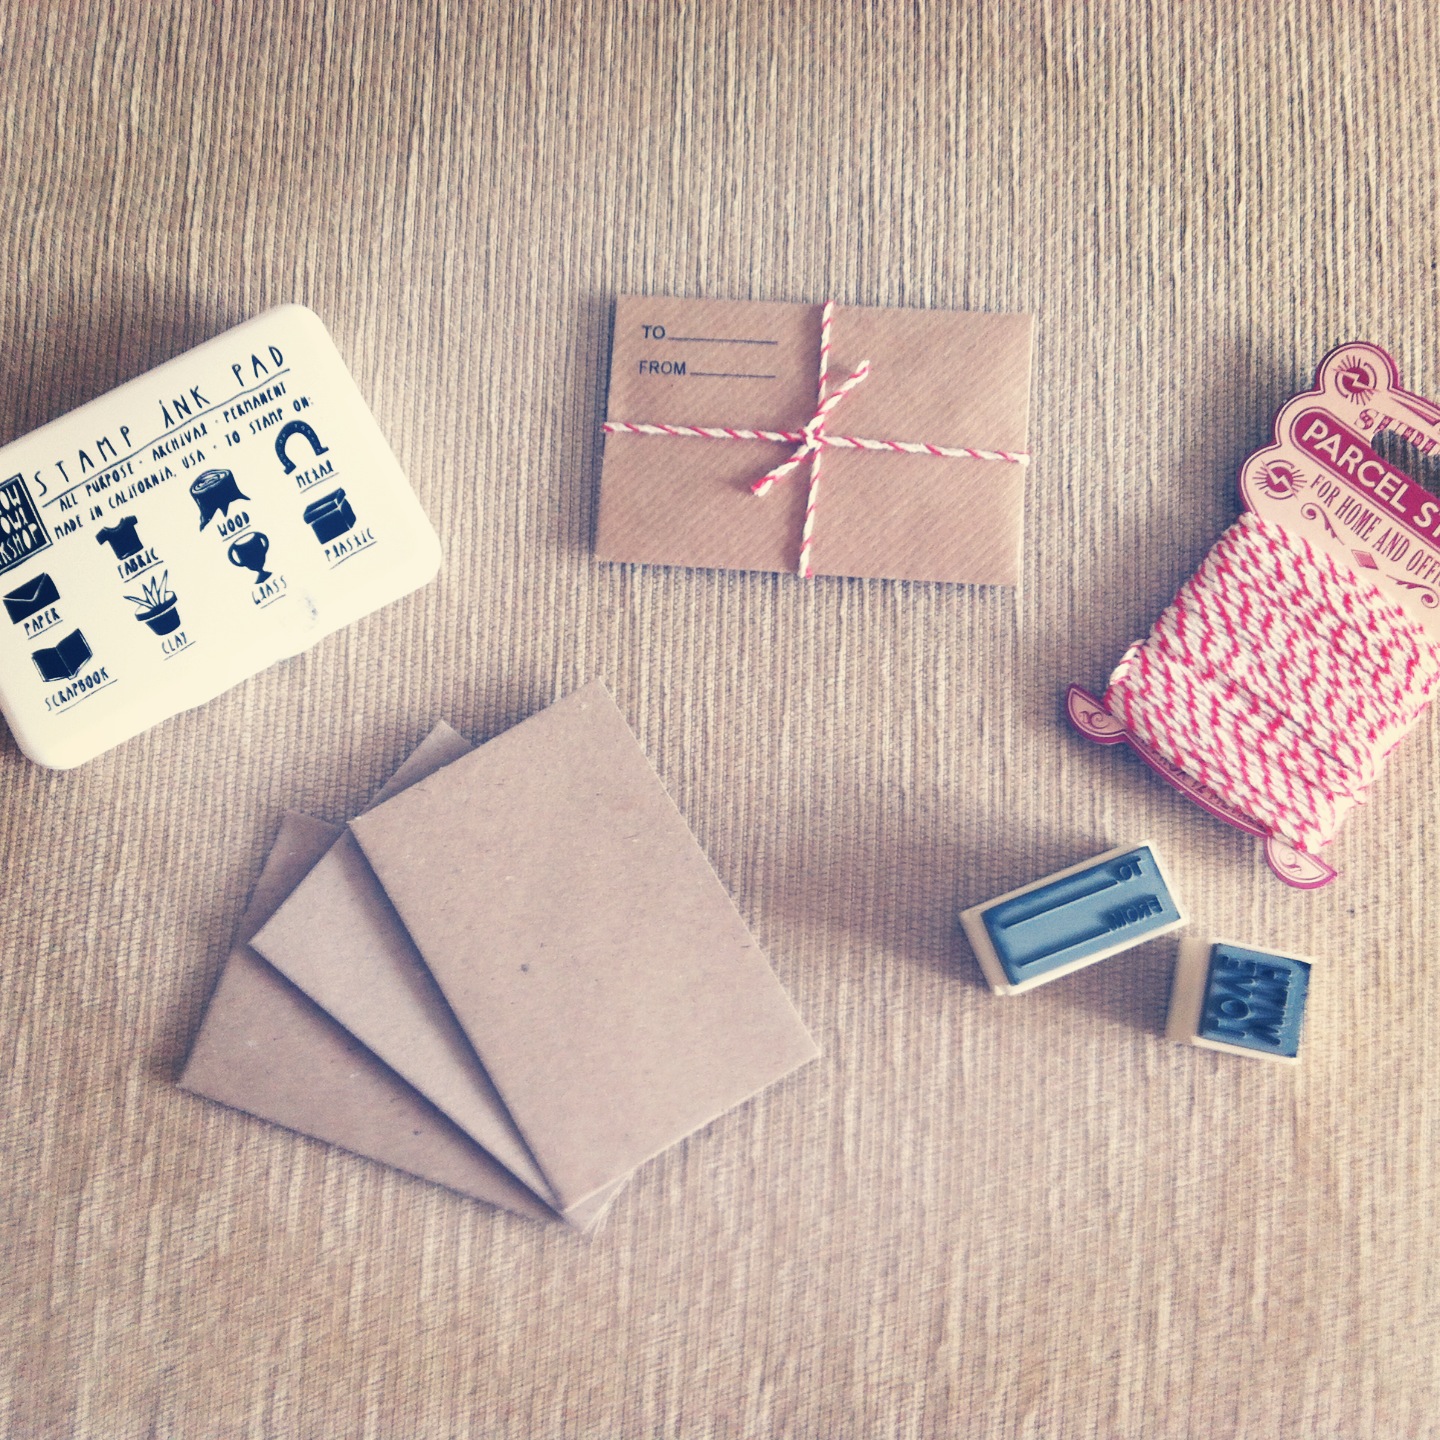
The thing we loved about our save-the-dates, was that they were cute and dinky. So we didn’t want to ruin that by popping them in some over-sized envelope that would defeat the object. We also wanted to keep that home-made/DIY feel running through. So off we went to Fred Aldous in Manchester’s Northern Quarter to buy some crafting goodies. (Fred Aldous, by the way, is like a crafter’s heaven! Even for novices like me, you’ll find projects and materials that are totally approachable and easy to use to create something unique and cool).
We settled on these business-card-sized brown paper envelopes by the East of India company. (I can’t remember the exact price, but we got change out of £5 for 100 I’m sure). We also went for some red and cream parcel string, ‘To’, ‘From’ and ‘With Love’ stamps, and ink pad…and voila!
How cute are these!? Our guests loved receiving them and we loved sending them!
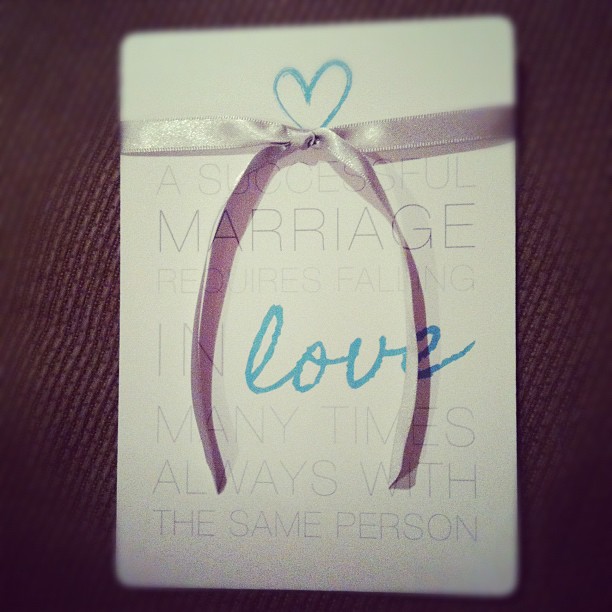
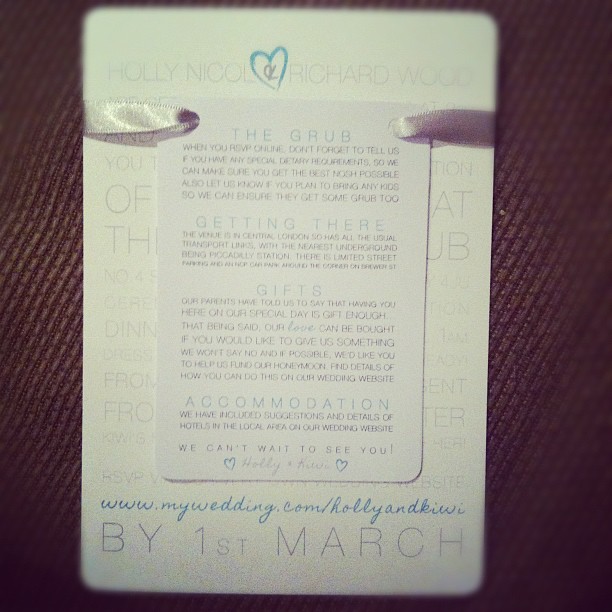
So fast-forward about 10 months and we were thinking about our wedding invitations. Again, we wanted something with a hand-made feel and this time we wanted something that would reflect the feel and theme of our wedding: informal, tiffany blue & silver. As we were tight on time and lacking creative juices, we came across the wonderful Dotty Doo (@dotty_doo) and got in touch. After a couple of emails and tweets, we knew she was the perfect lady for the job and totally got what we wanted.
It only took her a couple of weeks to come up with these beauties…
And check out the back and info card she attached. We managed to get all the details we needed in one cute little package that reflected our personalities and the informal nature of our wedding.
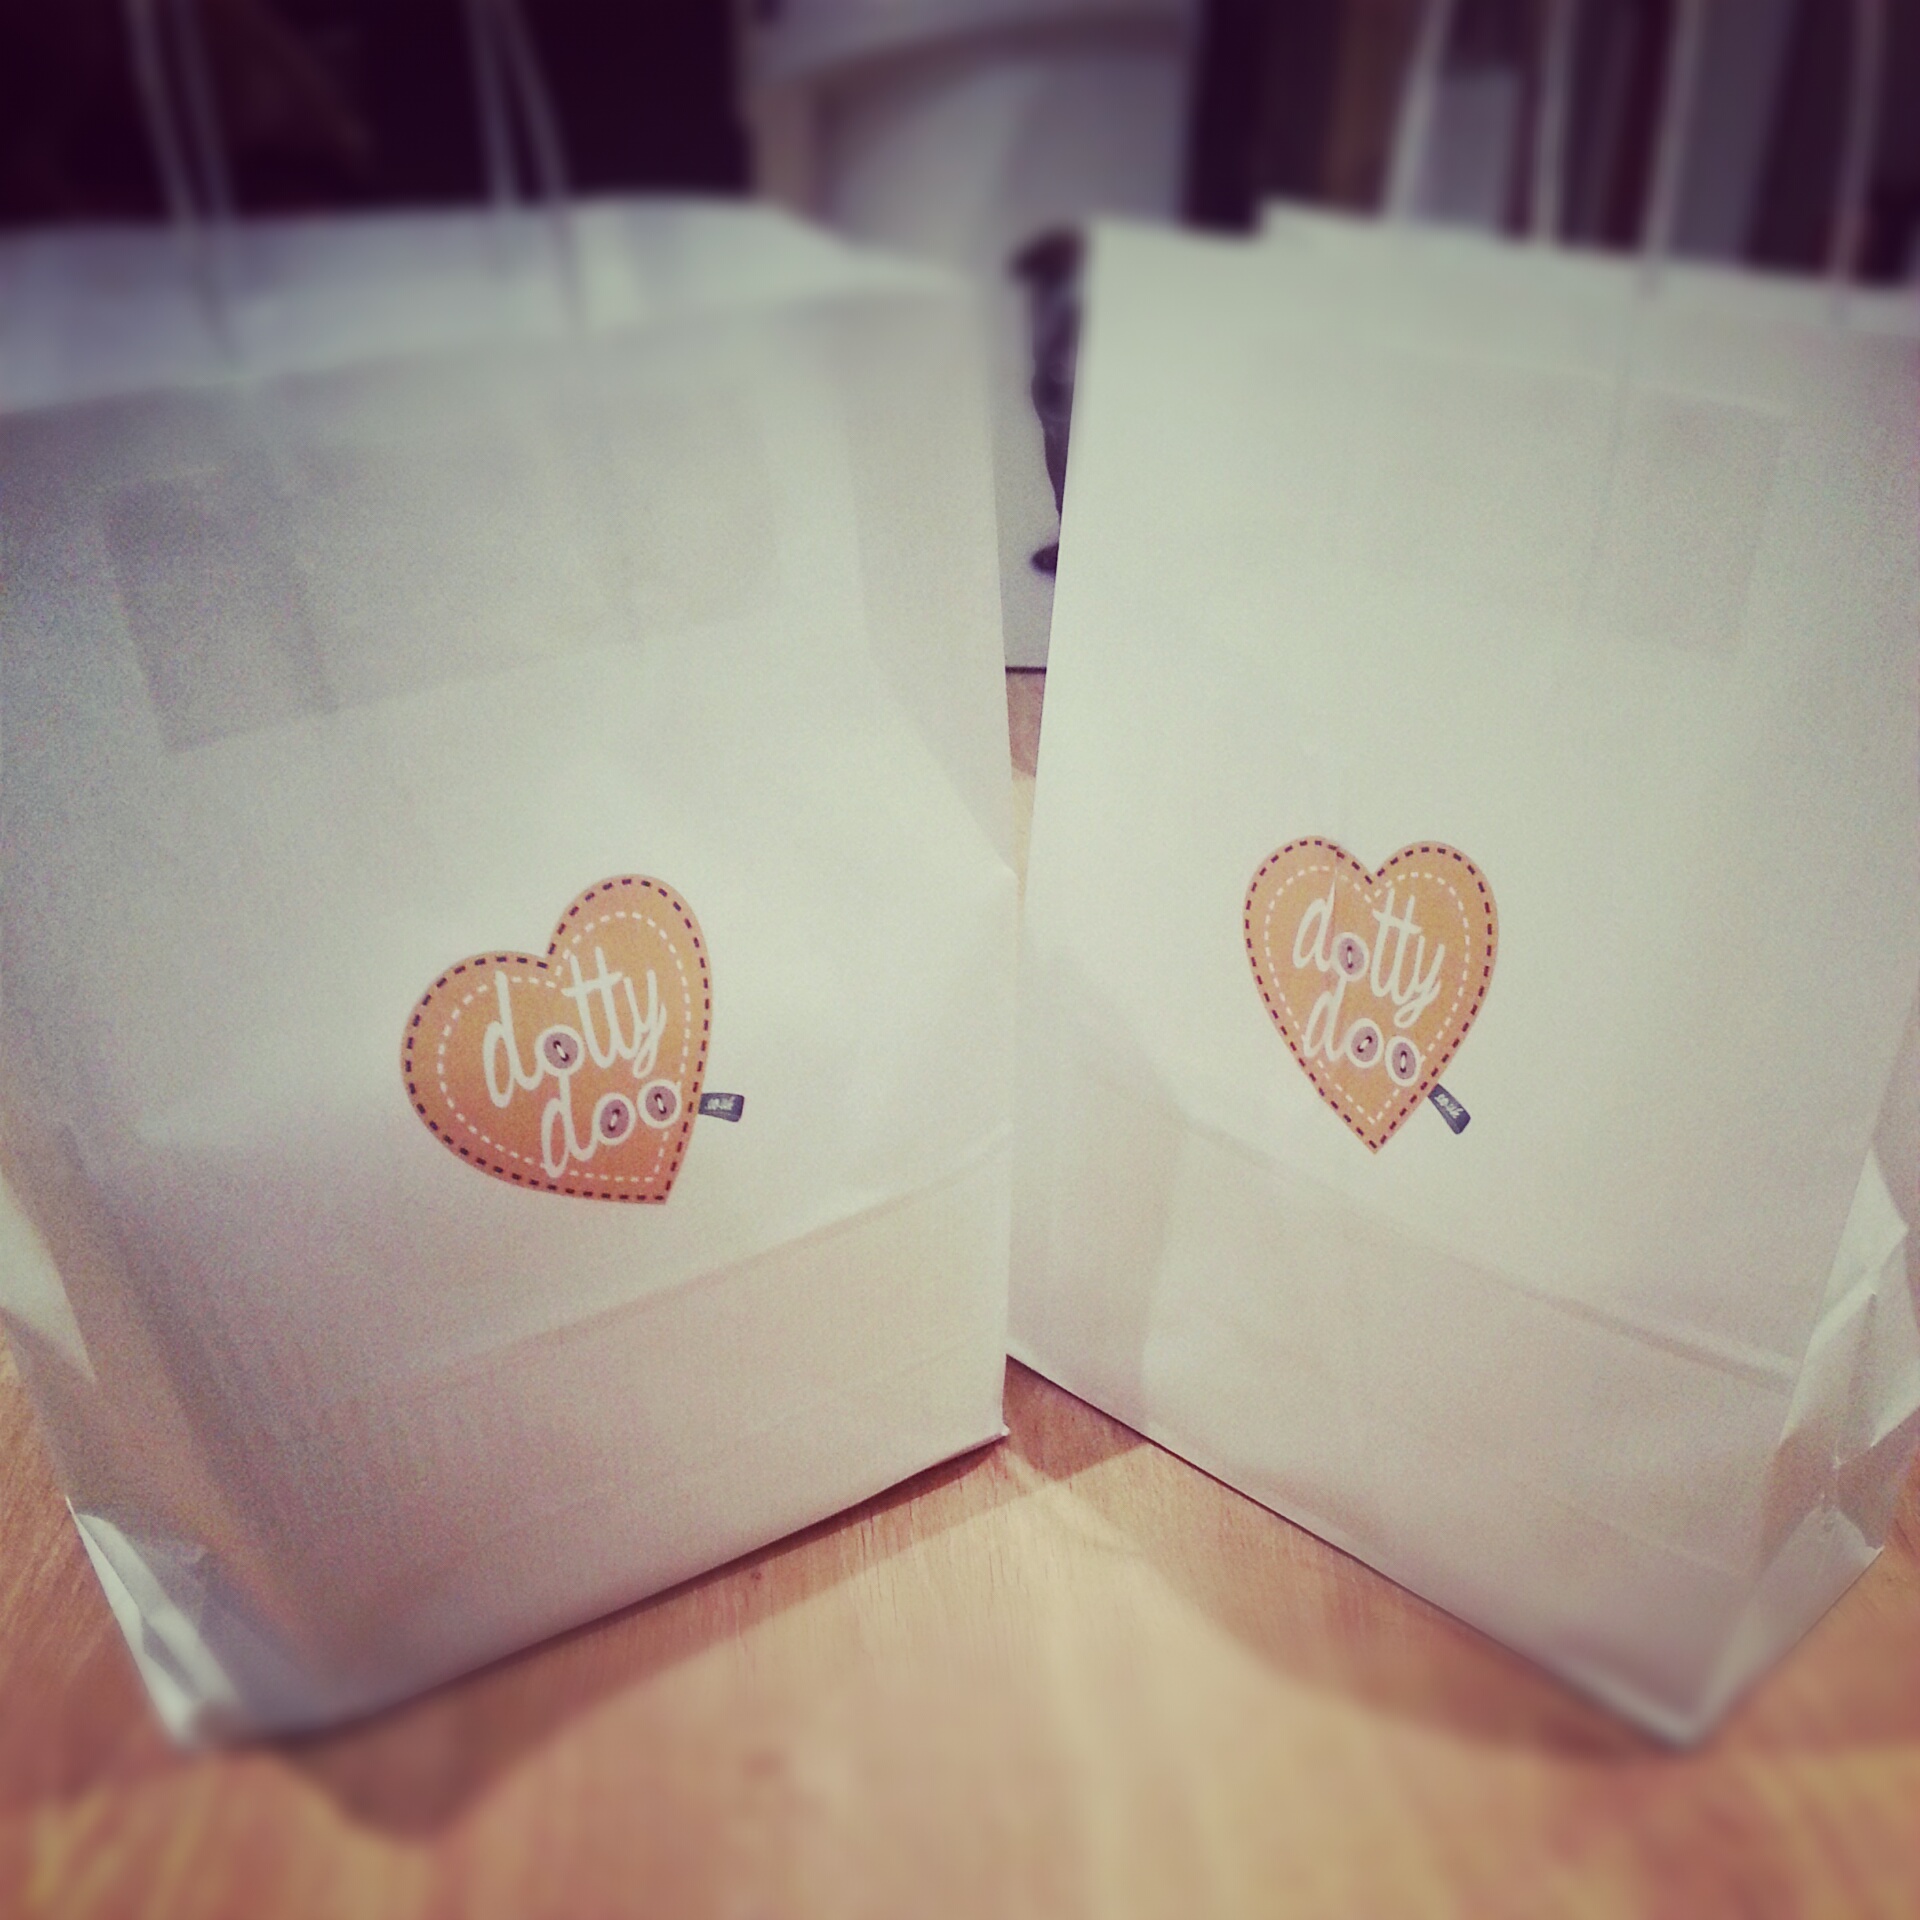
And look at the cute bags they arrived in…
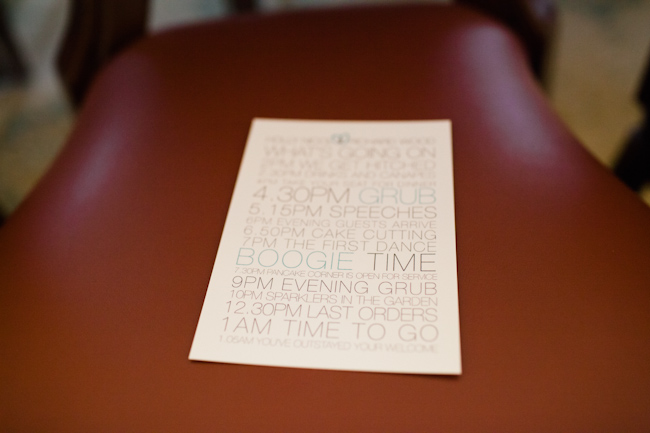
Then fast-forward another 2 months and we were thinking about our wedding decorations and order-of-the-day cards. This time, we enlisted the help of moo again, as we were so happy with the results of our save-the-dates and knew it would be a cost-effective way of bulk-printing our images and designs. Taking inspiration from Daisy Doo’s work, we came up with the following…
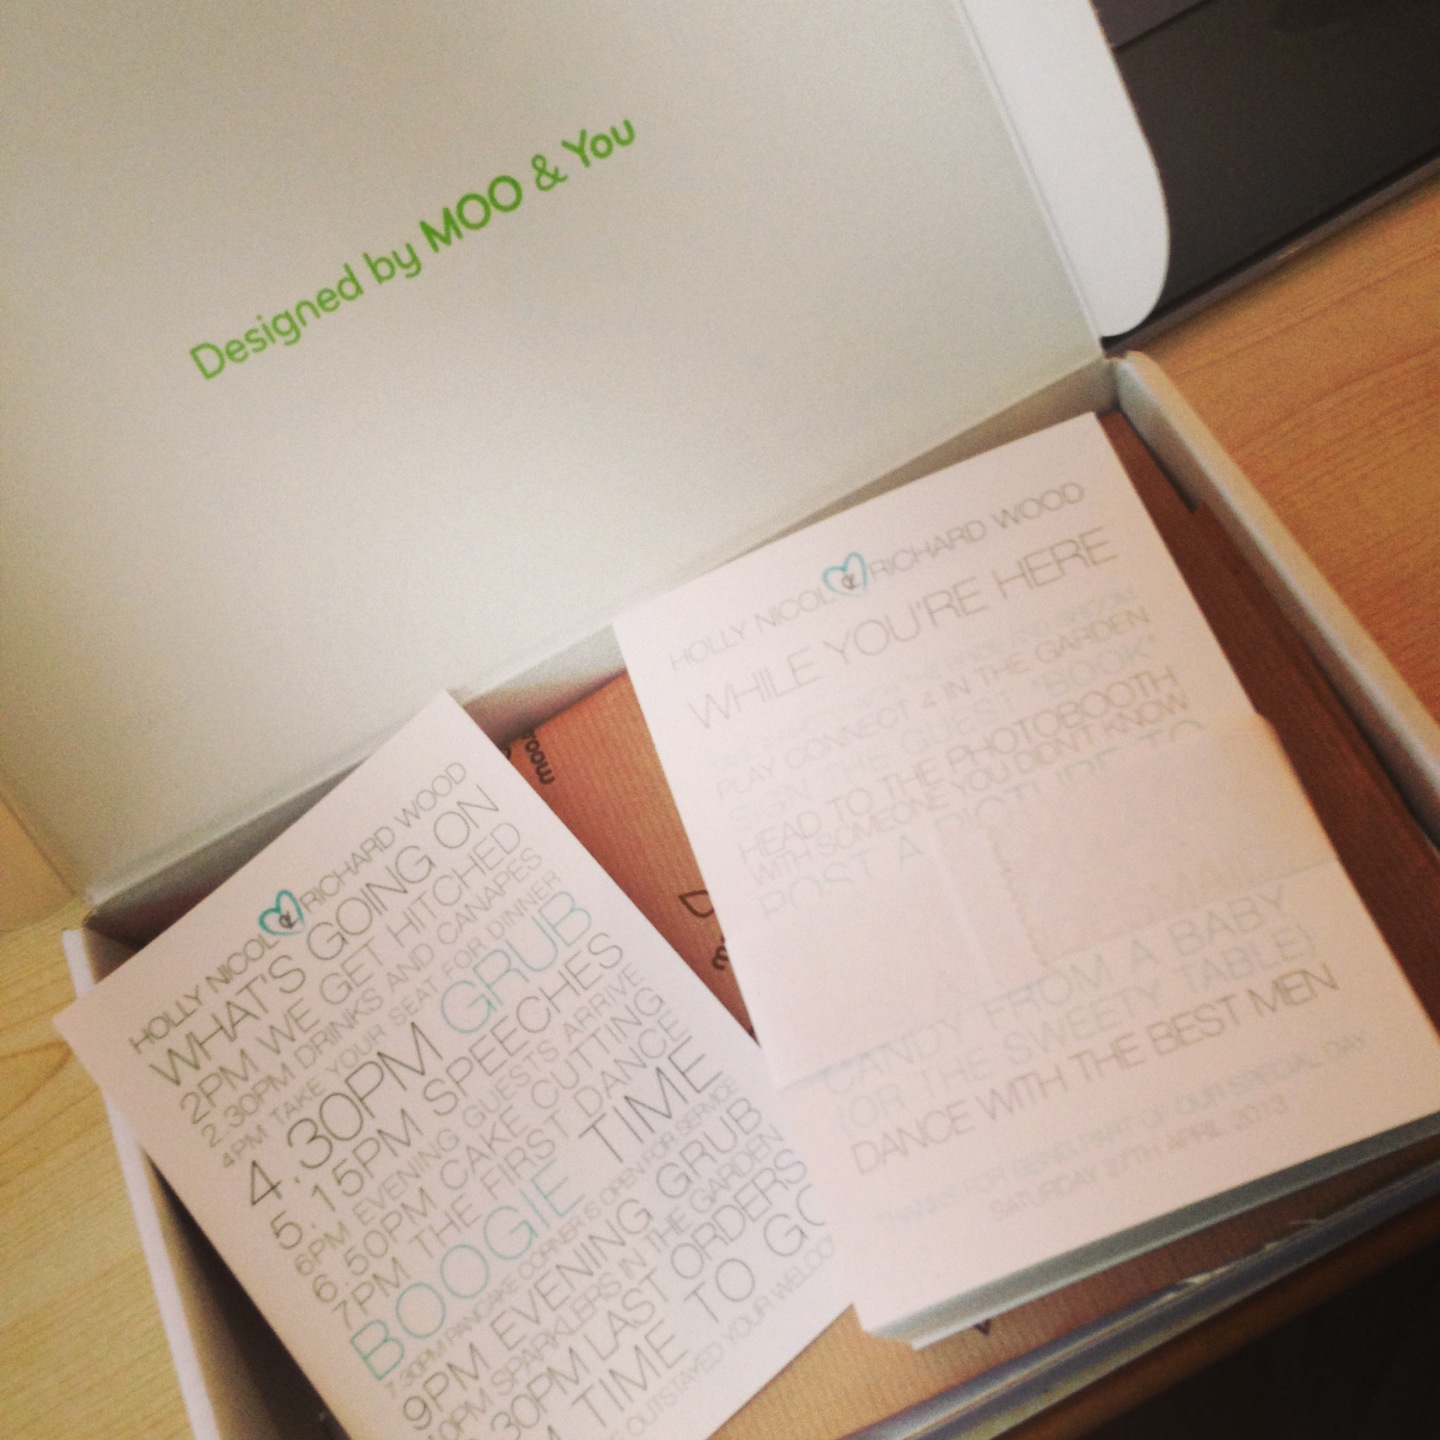
This time we went for moo’s postcard range as we needed something larger than our save-the-dates and clear so everyone could see what we had planned for them 🙂
Unfortunately at the time we were printing, moo hadn’t come out with their Luxe Postcard, which they now have on offer. If they had it, we would have almost certainly gone for that. But we were extremely happy with the silky finish of the classic card we opted for. Again, we printed double-sided and included our order-of-the-day on one side and “things to do” on the other (a fun little selection of ice-breakers for our guests).
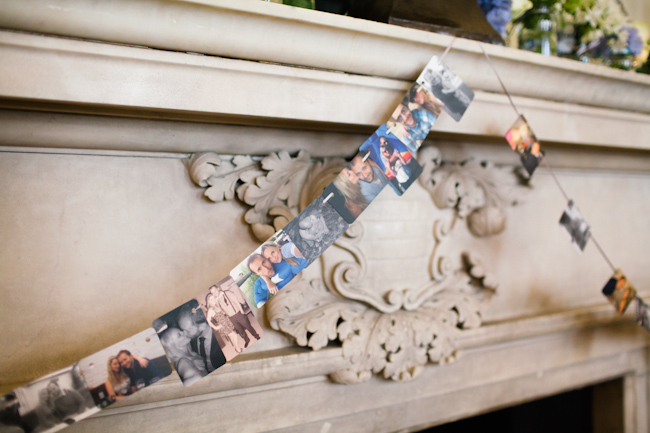
Moo also came in handy when printing our wedding photo-bunting! Again, we used the idea of the business-card and printed a load of our favourite photos of us as a couple over the years…this time we went for the classic paper again as we needed to hole-punch them so we could thread ribbon through and use as bunting. We put our wedding date and ‘Mr and Mrs’ on the back.
People loved these as it was memories of us as a couple dotted around the place and an informal, fun element against what was quite a grand setting. What do you think?
Our final element to our printed wedding stationery was the table names. As there were only 7 of these, we decided the best thing to do was to design and print them ourselves. So again, carrying-on the design-theme of the invitations and order-of-the-day, my hubby came up with a template, printed the table names onto white card and hand-cut them to fit into these wonderful frames from Ikea. We were very pleased.
So that’s it. That’s our DIY wedding stationery in a nut-shell. We were really pleased with the results and enjoyed doing it along the way. I think it’s important to undertake little projects like this if you have time, as they add a personal feel and give you a real sense of satisfaction when you see them in their full glory.
Thank you to moo.com and also to Dotty Doo for being awesome and helping us with our project!
Would you DIY a project like this? Or would you rather leave it to someone else?
[mc-sign-up-list]